


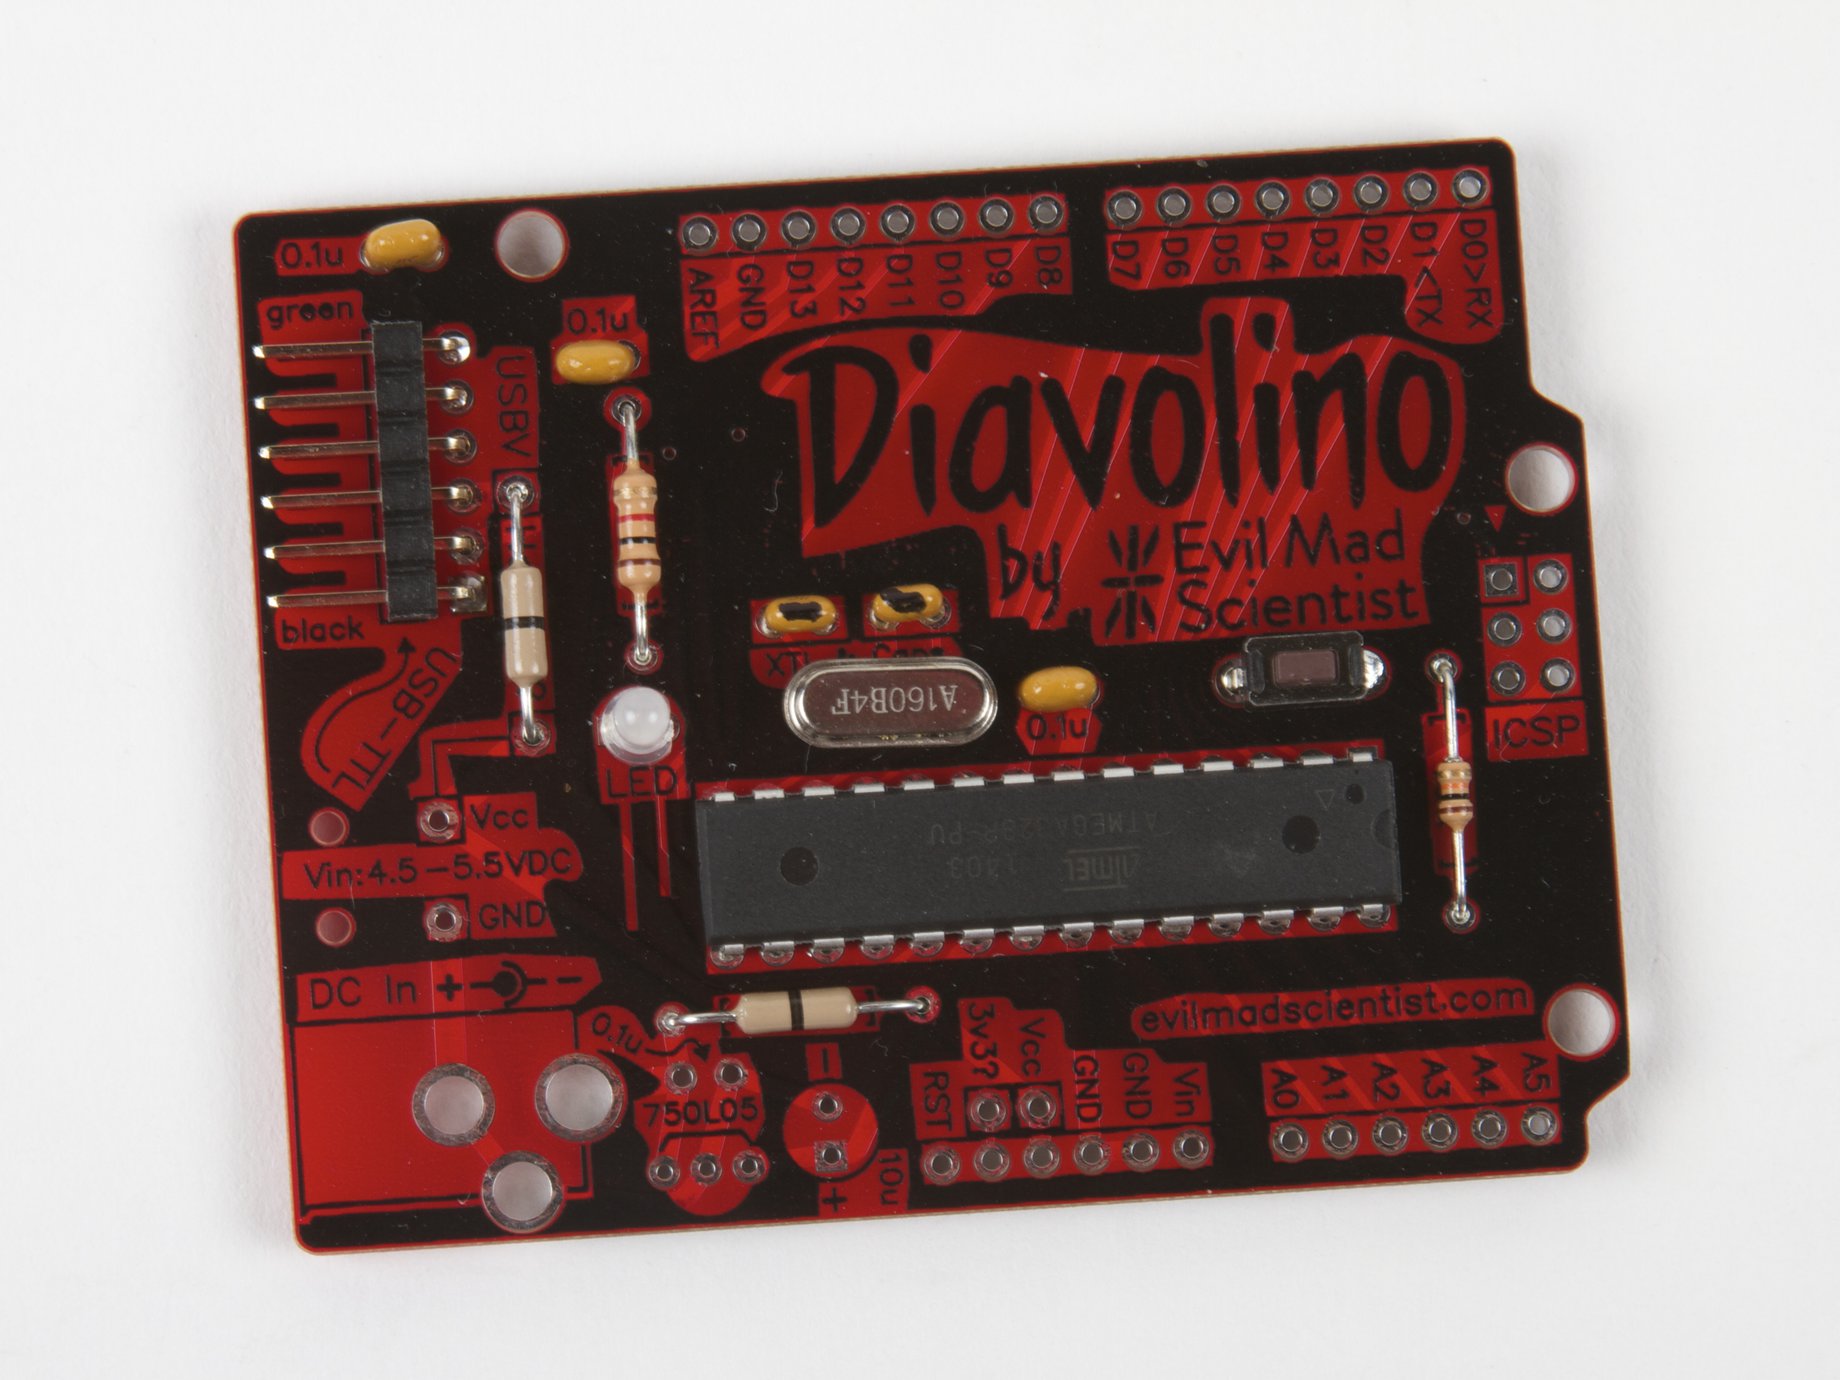
 Diavolino ("little devil") is a low-cost, easy to build Arduino-compatible development board.
Diavolino has the form factor of an Arduino Duemilanove or Arduino Pro, but with nicely rounded corners and a striking appearance. It's a low-profile through-hole version, with a simplified design. It's based on a ATmega328P microcontroller, and comes pre-flashed with the Arduino bootloader. Open source design, with bare basics hardware.
Diavolino ("little devil") is a low-cost, easy to build Arduino-compatible development board.
Diavolino has the form factor of an Arduino Duemilanove or Arduino Pro, but with nicely rounded corners and a striking appearance. It's a low-profile through-hole version, with a simplified design. It's based on a ATmega328P microcontroller, and comes pre-flashed with the Arduino bootloader. Open source design, with bare basics hardware.
 Diavolino is sold as an easy to assemble "through hole" soldering kit [?]. Basic electronic soldering skill is required, and you provide the soldering tools: a soldering iron and solder, plus small wire clippers. Assembly time is typically 10-30 minutes, depending on configuration and soldering skill.
To load Arduino sketches onto a Diavolino, you'll need an FTDI Interface, such as the FTDI Friend. Even if you need to deploy lots of boards, you'll probably only need one interface.
Diavolino is sold as an easy to assemble "through hole" soldering kit [?]. Basic electronic soldering skill is required, and you provide the soldering tools: a soldering iron and solder, plus small wire clippers. Assembly time is typically 10-30 minutes, depending on configuration and soldering skill.
To load Arduino sketches onto a Diavolino, you'll need an FTDI Interface, such as the FTDI Friend. Even if you need to deploy lots of boards, you'll probably only need one interface.
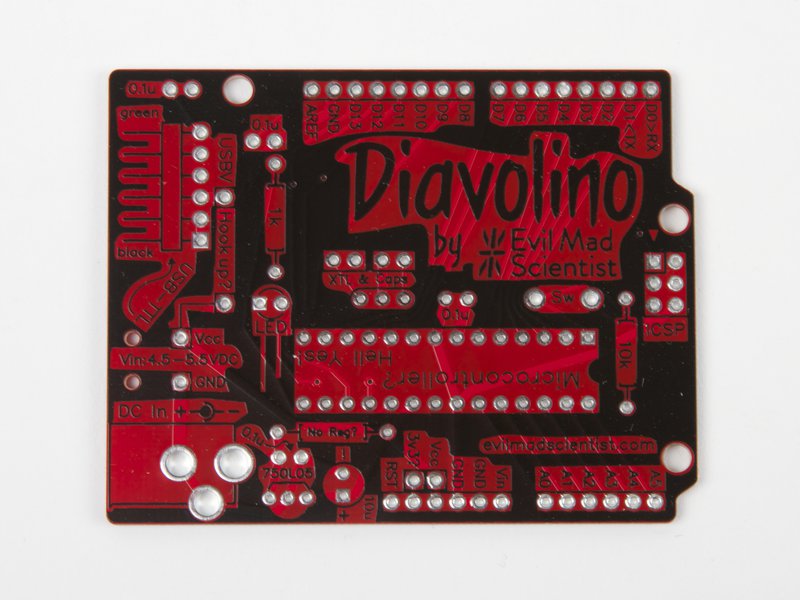
Here's what you'll find on the Diavolino circuit board:
- ATmega328P microcontroller, with Arduino bootloader
- Genuine 16 MHz crystal oscillator (better grade, 20 ppm)
- 3 mm diffused red LED (naturally!), ready for blink sketch
- Auto-reset circuit
- Reset button
- Wire jumper for optional USB power
- 6-pin header for USB-TTL interface
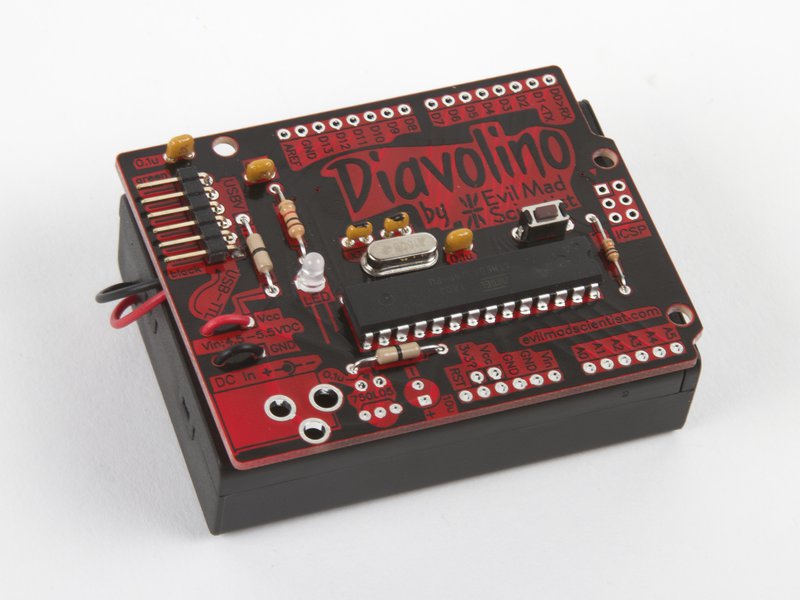
- Places to hook up to a battery box, complete with strain relief
- Locations for optional side socket strips, ICSP connector, and TO-92 regulator
Here's what you won't find on Diavolino:
- The USB interface chip-- again, that's why you need the cable.
- Advanced power management. Please provide power to Diavolino from one source at a time: battery, USB, or plug-in power supply.
- A separate 3.3 V regulator. Shields and accessories that require separate 3.3 V power may need assistance to work correctly.
Powering Diavolino
The ATmega328P microcontroller requires 4.5 - 5.5 V dc when operating at 16 MHz. Diavolino can be powered from a FTDI USB-TTL-5V cable, if you hook up the wire jumper that connects that power source to the board's "Vcc" line. You can also power the board through a 3xAA or 3xAAA battery box, or through a plug-in power supply. For most situations that require wall-plug power, we recommend to use a 5 V power supply directly. If you have a specific reason to use a higher voltage wall wart (e.g., 9 V), then you'll also have to provide a voltage regulator to make the 5 V supply for the microcontroller.Kit configurations
Diavolino kits are available with two configuration options: a optional bundled battery holder and an optional set of socket strips. The battery holder is a 3xAA box with cover and switch. The battery holder has almost exactly the same footprint as the Diavolino board, and you can stick it on with double-sided foam tape if you're so inclined. It's a great setup for easy portable projects. The socket strip set is a four-piece set of header sockets, two each 6-pin and 8-pin, that allow the board to interface with many existing Arduino accessories.Additional resources
An extended introduction to Diavolino is available here.You may also want to download the Detailed assembly instructions (8 MB PDF) for the Diavolino. Complete documentation (including assembly instructions and source files) is hosted at the Evil Mad Scientist Wiki.
Suggested Accessories for Diavolino:


You may also be interested in...


Home > Products > AVR Development Kits
Home > Products > Arduino Ecosystem Kits and Accessories